Installing Arch Linux
A Deep Dive into Installing Arch Linux
According to their wiki,
Arch Linux is an independently developed, x86-64 general-purpose GNU/Linux distribution that strives to provide the latest stable versions of most software by following a rolling-release model.
The default installation is a minimal base system, configured by the user to only add what is purposely required.
In other words, Arch Linux is a distribution optimized for x86-64 architecture targeted at experienced Linux users. It lets you have full responsibility and control over your system.
You’ll get to choose what packages you want, the kernel (yes there are multiple), the boot-loader, the desktop environment, and so on.
Have you ever heard someone say,
Oh – by the way, I use Arch Linux!
This is because installing Arch Linux on a machine requires you to have proper knowledge of how different parts of a Linux distribution work. So running Arch Linux on your system is kind of a testament to your understanding of Linux.
Speaking from experience, installing Arch Linux is not very different from installing something like Fedora or Ubuntu. It’s just that you have to go through the individual steps manually instead of having an installer do the things for you. But once you’ve gone through the process, you’ll start to understand how the other distributions work in general.
In this article, I’ll walk you through the entire process of installing and configuring Arch Linux on your machine. I’ll also discuss some common tasks and troubleshooting tips near the end.
Prerequisites
Before you begin, ensure you have the following:
Am working with the assumption that you have a basic understanding of
linuxand how computers work.
- A compatible computer: Check the Arch Linux wiki for a list of supported processors and BIOS configurations.
- A USB drive: A minimum of 4GB is recommended to accommodate the installation media and temporary files.
- The Arch Linux ISO image: Download the official ISO image from the Arch Linux website.
- A bootable USB drive creator: Tools like
dd(for Linux) or Rufus (for Windows) can be used to create a bootable USB drive.
Step-by-Step Installation
1. Boot from the Installation Media
- Restart your computer and enter the BIOS/UEFI settings.
this is usually done using the function keys but varies depending on the computer or you can just press
escand go from there.
- Select the boot device to be the installation media.
The computer will now boot from the Arch Linux image and log you into a virtual console as the root user.
2. Set Keyboard Layout
- Set keyboard layout: Use the
loadkeyscommand to select your preferred keyboard layout. For example,loadkeys usfor a US keyboard layout.1 2 3 4 5
localectl list-keymaps # set it to eng loadkeys mac-us
3. Connect to the Internet
- Enable networking: If your network connection is wired the you dont really have to do anything. To Connect to a wireless connection ,the live environment comes with the iwd package.
1
2
3
4
5
6
7
8
9
10
11
12
13
14
15
16
17
  # run the following commands
  iwctl #this will open an interactive prompt

  device list #This will spit out a list of available wireless devices. mine is wlan0

  # station <device> scan

  station wlan0 scan

  # station <device> get-networks

  station wlan0 get-networks # this will print the networks available

  # station <device> connect <SSID>

  station wlan0 connect <your_network>
The iwctl program will prompt you for the wi-fi password.Input hte passowrd the type exit to leave.
- Verify connectivity: Use the
pingcommand to test connectivity. For example,ping -c 4 google.com.
**4. system clock
- **Set the time
1
  timedatectl set-ntp true
5. Partition Your Hard Drive
- Choose a partitioning tool: Popular options include
cfdisk,fdisk, andgdisk.1 2
# this will list all the disks conneted and their partition tables fdisk -l
For me it is
/dev/sda1.1 2
fdisk /dev/sda1 -lRemember to replace
/dev/sda1with what you have. This command will list out all the partitions inside the given device. -
Create partitions: we will use cfdisk Run the following command to start
cfdiskon your preferred device:1
cfdisk /dev/sda1
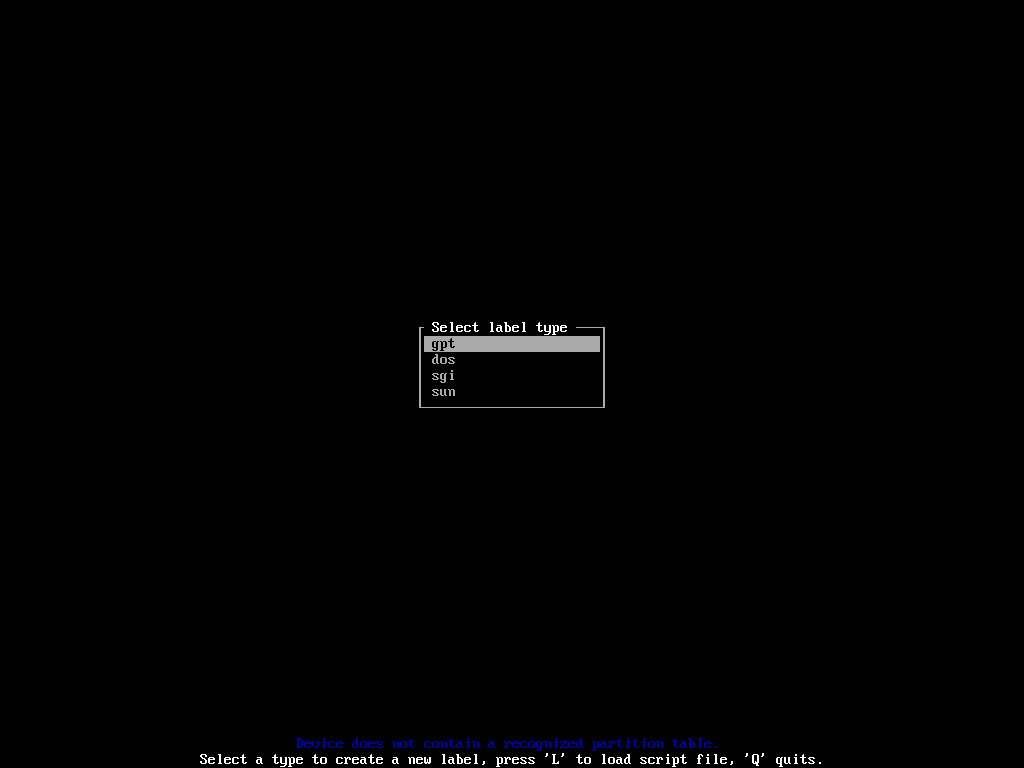
- EFI system partition – for storing files required by the UEFI firmware.
For an EFI system partition, you should allocate at least 500MB.make sure to make it fo type
EFI System.- ROOT – for installing the distribution itself.
- SWAP – for serving as the overflow space for your RAM.
Note: Partitioning is crucial. Incorrect partitioning can lead to data loss. Refer to the Arch Wiki for detailed partitioning guides.
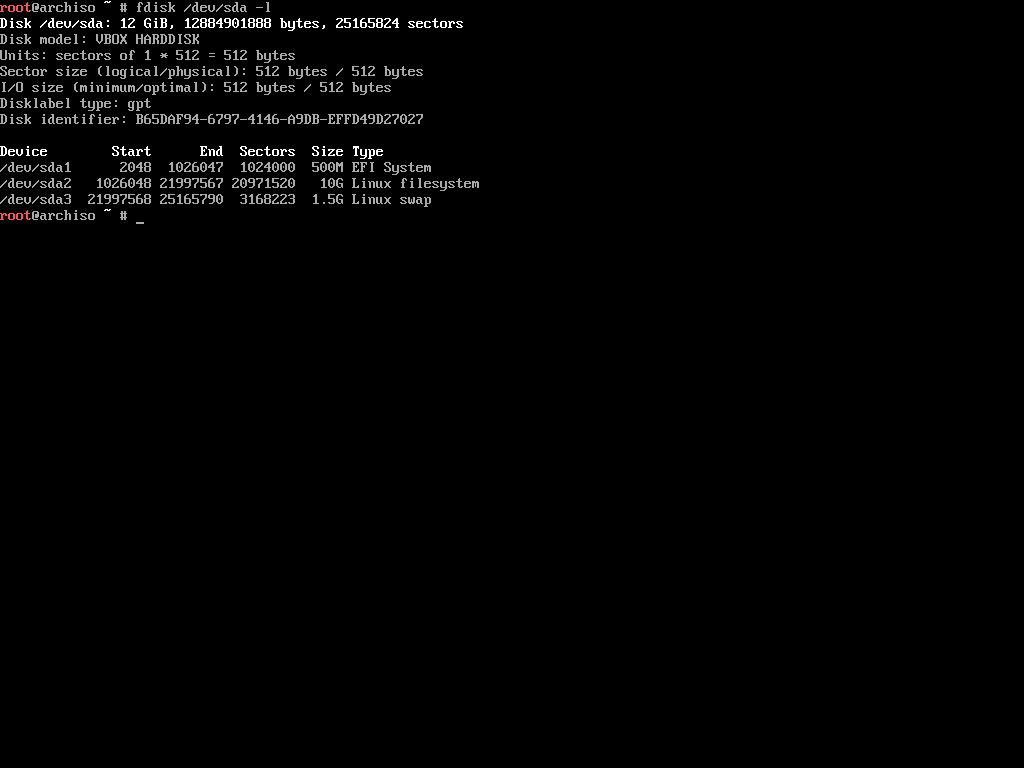
6. Format Partitions
1
fdisk /dev/sda1 -l # should show ht partitions created
- Create file systems: Use commands like
mkfs.ext4(for ext4 file system) to format each partition. For example,mkfs.ext4 /dev/sda1to format the first partition on the first hard drive.
The device names should look like /dev/sda1, /dev/sda2, /dev/sda3 and so on.The EFI system partition has to be in FAT32 format. Execute the following command to format a partition in FAT32 format:
1
2
3
```bash
mkfs.fat -F32 /dev/sda1
```
The next partition is the root partition. It can be in a number of formats, but I prefer using EXT4 for all of my Linux filesystems. Use the following command to format the partition in EXT4:
1
2
3
```
mkfs.ext4 /dev/sda2
```
-
Create swap space: If you created a swap partition, use
mkswapto create swap space. Then, enable swap withswapon /dev/sda3(assuming the swap partition is on/dev/sda3).1
mkswap /dev/sda3
7. Mount Partitions
- Now that you’ve created and formatted your partitions, you’re ready mount them. You can use the
mountcommand with appropriate mount points to mount any partition:
1
2
3
# mount <device> <mount point>

mount /dev/sda2 /mnt
-
Remember that the
/dev/sda2partition was created to be the root partition. The/mntmount point in Linux is for mounting a storage device temporarily. As we only need to mount the partition for installing Arch Linux on it, the/mntmount point is perfect. -
In the case of a swap partition, you won’t mount it like the other ones. You’ll have to tell Linux to use this partition as swap explicitly. To do so, execute the following command:
1
swapon /dev/sda3
8. Install the Base System
- How To Configure the Mirrors
There is one more thing todo before you can install Arch Linux on your machine, and that is configuring the mirrors. Mirrors are servers located at different pointes around the world for serving the nearby population.
The installer comes with Reflector, a Python script written for retrieving the latest mirror list the Arch Linux Mirror Status page. To print out the latest mirror list, simply execute the following command:
1
reflector
If you have a slow internet connection, you may encounter an error message as follows:
1
failed to rate http(s) download (https://arch.jensgutermuth.de/community/os/x86_64/community.db): Download timed out after 5 second(s).
This happens when the default timeout (5 seconds) is lower than the actual time it’s taking to download the information.
You can remedy to this problem by using the --download-timeout option:
1
reflector --download-timeout 60
Reflector can generate a list of mirrors based on a plethora of given constraints. For example, I want a list of mirrors that were synchronized within the last 12 hours and that are located either in India or Singapore (these two are closest to my location), and sort the mirrors by download speed.
Turns out, reflector can do that:
1
reflector --download-timeout 60 --country Kenya --age 12 --protocol https --sort rate --save /etc/pacman.d/mirrorlist
- Pacman: The Arch Linux package manager.
- Download the base system:
1
2
3
 pacman -Sy

 pacstrap /mnt base base-devel linux linux-firmware sudo nano networkmanager
- This command downloads and installs essential packages into the mounted root partition.
9. Generate the fstab File
- Create the fstab file:
1
 genfstab -U /mnt >> /mnt/etc/fstab
- This generates a file that tells the system how to mount partitions at boot.
10. Chroot into the New System
- Switch to the new system:
1
 arch-chroot /mnt
11. Configure the System
- Set the hostname:
1
 echo "your_hostname" > /etc/hostname
- Set the locale:
1
 ln -sf /usr/share/zoneinfo/your_timezone /etc/localtime
- Generate the locale file:
1
 locale-gen
- Set the root password:
1
 passwd
12. Configure the Network
- Edit the network configuration files: If you have a static IP address, edit the appropriate network configuration files.
- Enable and start networking services:
1
2
3

  systemctl enable NetworkManager
13. Install and Configure the Boot Loader
- Install GRUB:
1
pacman -S grub efibootmgr -
Generate the GRUB configuration:
1
mkdir /boot/efi -
According to Wikipedia,
In Linux, and other Unix-like operating systems, the
/boot/directory holds files used in booting the operating system. -
This directory is present in all Unix-like operating systems. The above mentioned command creates a directory called
efiinside the/bootdirectory. After creating the directory, you’ll have to mount your EFI system partition in that directory.1
mount /dev/sda1 /boot/efi
- install the grub
1
 grub-install --target=x86_64-efi --bootloader-id=grub
(Replace
/dev/sdawith the appropriate device if you installed GRUB on a different disk.) - Update the GRUB configuration:
1
 grub-mkconfig -o /boot/grub/grub.cfg
14. Reboot the System
- Exit the chroot environment:
1
exit - Unmount partitions:
1
umount -R /mnt - Reboot the computer:
1
 reboot
Post-Installation
- Install a desktop environment or window manager here in an article on configuring openbox